The Global Bicycle Purchasing Index 2026 provides a useful signal for understanding the current mood of the bicycle industry. The latest results suggest that the global bicycle market is no longer in a sharp downturn, but it is also not showing a strong rebound.
For bicycle manufacturers, parts suppliers, distributors, importers, and repair channels, the message is clear: the market is entering a phase of cautious stability. Demand is improving in some areas, inventory pressure is easing, and purchasing activity is becoming more balanced. However, confidence remains limited, and supply chain risks continue to affect planning.
For bicycle parts suppliers, this type of market environment requires a practical strategy. Instead of relying on aggressive growth expectations, suppliers should focus on stable product categories, clear specifications, reliable delivery, and products that support repair, replacement, retail, and aftermarket demand.
Key point: The 2026 Global Bicycle Purchasing Index points to fragile stability rather than a clear recovery. Bicycle parts suppliers should prepare for cautious buyers, selective purchasing, and stronger demand for practical replacement and aftermarket products.
1. What Is the Global Bicycle Purchasing Index?
The Global Bicycle Purchasing Index, or GBPI, is designed as a sentiment and trend barometer for the global bicycle industry. It tracks how industry participants view the current market situation, their own company situation, order levels, inventory conditions, purchasing activity, supplier delivery performance, and broader business risks.
The latest wave was based on industry interviews conducted in May and June 2026. The respondent group included bicycle assemblers, parts manufacturers, and distributors from multiple countries. Because the sample size is limited, the index should not be treated as a complete market-size statistic. Instead, it is best understood as an early indicator of industry confidence and purchasing direction.
This distinction is important. Market size tells us how much was sold. A purchasing index tells us how companies are thinking, planning, ordering, and managing risk. For suppliers, this kind of information can be especially useful because purchasing behaviour often changes before the market fully recovers.
2. The Index Shows Stability, Not a Strong Rebound
The latest GBPI result reached 99.9 in May/June 2026. This is slightly higher than the previous reading of 99.5 in February/March 2026, but still below the 101.6 level recorded in June 2025.
This movement suggests that the industry has stabilized after a weaker period, but it has not yet entered a strong expansion phase. The index is close to the neutral level, which means the market is neither clearly positive nor clearly negative.
| GBPI Wave | Index Result | Market Interpretation |
|---|---|---|
| June 2025 | 101.6 | More positive than later waves, but still not a strong boom signal |
| Oct/Nov 2025 | 98.8 | Weaker sentiment and more cautious purchasing environment |
| Feb/March 2026 | 99.5 | Early signs of stabilization after the weaker phase |
| May/June 2026 | 99.9 | Cautious stability, but no clear strong recovery yet |
For bicycle parts suppliers, this means the market should not be read as a simple rebound. Buyers may return to purchasing, but they are likely to remain careful about order size, supplier reliability, inventory risk, and product selection.
3. Industry Sentiment Remains Subdued
The report shows that current market sentiment remains cautious. Only a limited share of respondents rated the current bicycle industry situation as good or very good. A large share still described the situation as average, bad, or very bad.
However, short-term expectations are more positive than the current assessment. This suggests that many companies see some improvement ahead, even though they do not yet see strong evidence of a full recovery.
| Question Area | Key Result | What It Suggests |
|---|---|---|
| Current Industry Situation | 44% rated it average, while 44% rated it bad or very bad | The industry is still cautious and not fully confident |
| Short-Term Industry Expectations | 48% expected the industry to develop better or much better this quarter | There is some improvement in expectations, but not a full rebound |
| Own Company Situation | 44% rated their own company situation as average | Many companies are stable, but not strongly optimistic |
This is an important signal for suppliers. When customers are cautious, product communication must become more practical. Buyers need clear information, realistic pricing, dependable product quality, and confidence that a supplier can support repeat orders.
4. New Orders Are Improving, but Growth Is Not Broad-Based
One of the more positive signals in the report is the improvement in new incoming orders. More than half of the surveyed companies reported that new order levels increased compared with the same quarter last year.
This does not mean the entire market is growing strongly. Some companies still reported lower order levels, and many other indicators remain mixed. However, it does suggest that purchasing activity is no longer frozen.
| Business Indicator | 2026 Q2 Result | Meaning for the Bicycle Industry |
|---|---|---|
| New Incoming Orders | 52% increased, 27% stayed the same, 20% decreased | Order activity is improving, but not universally |
| Requested Lead-Time | 24% increased, 51% stayed the same, 25% decreased | Planning remains mixed, with no single clear lead-time trend |
| Inventory Level | 9% increased, 59% stayed the same, 31% decreased | Inventory pressure appears to be easing for some companies |
| Supplier Delivery Timeliness | 16% improved, 60% stayed the same, 13% decreased | Delivery performance is relatively stable, but not without risk |
For bicycle parts suppliers, the most important point is inventory. If inventory pressure continues to ease, distributors and retailers may slowly return to replenishment. This can support demand for practical parts and accessories with regular replacement cycles.
5. Purchasing Patterns Differ by Company Type
The report also shows that purchasing behaviour differs across assemblers, parts manufacturers, and distributors. This matters because each buyer type has different needs.
Assemblers are focused on parts and components for production. Parts manufacturers are focused on raw and semi-finished materials. Distributors are focused on finished bikes and market demand. A supplier that understands these differences can communicate more effectively with each type of buyer.
| Buyer Type | Purchasing Signal | Supplier Interpretation |
|---|---|---|
| Bicycle Assemblers | 30% increased parts and components purchasing, 35% stayed the same, 35% decreased | Production-related purchasing remains mixed and selective |
| Parts and Components Manufacturers | 38% increased raw and semi-finished material purchasing, 45% stayed the same, 17% decreased | Some upstream activity is improving, but cautiously |
| Distributors | 43% increased bike purchasing, 29% stayed the same, 29% decreased | Distributor demand is recovering in some areas, but still uneven |
For suppliers of bicycle accessories and replacement parts, this mixed picture supports a balanced approach. Instead of focusing only on new bike assembly, suppliers should also serve aftermarket, repair, replacement, and retail channels.
6. Supply Chain Risk Remains a Major Concern
The report also highlights the impact of geopolitical uncertainty, especially the conflict in the Middle East. Even when direct effects are limited, uncertainty can influence transport routes, energy prices, purchasing costs, and business planning.
According to the survey, companies are most concerned about rising purchasing prices, general uncertainty, and margin pressure. These concerns are directly relevant to bicycle parts suppliers because many products are connected to Asian manufacturing, global shipping, and cost-sensitive distribution channels.
| Risk Area | Survey Result | Business Meaning |
|---|---|---|
| Purchasing Prices | 70% saw possible increases in purchasing prices | Cost pressure may affect margins and buyer decisions |
| Future Uncertainty | 61% reported uncertainty about future developments | Buyers may delay or reduce orders until conditions are clearer |
| Margin Pressure | 55% reported further pressure on margins | Suppliers need to balance pricing, quality, and reliability |
| Supply Chain Predictability | 78% agreed or somewhat agreed that predictability had declined | Planning and communication become more important |
| Shipping Times | 81% agreed or somewhat agreed that shipping times had increased | Buyers may prefer suppliers with clearer delivery planning |
In this environment, suppliers should not only talk about product price. They should also communicate delivery expectations, packing options, production readiness, and product stability. A supplier that reduces uncertainty can become more valuable to buyers.
7. Asian Product Costs Are Under Pressure
The report also asked companies how the conflict affected the price level of products sourced in Asia. A significant share of respondents reported moderate or significant price increases.
For European buyers sourcing from Asia, this creates a more complex purchasing environment. They still need cost-effective products, but they also need suppliers who can help manage risk, explain specifications clearly, and avoid quality problems that create additional costs.
| Price Level of Asian Products | Share of Respondents | Supplier Implication |
|---|---|---|
| No or Slight Increase | 25% | Some buyers may still find stable sourcing conditions |
| Moderate Increase | 32% | Cost pressure is becoming more visible |
| Significant Increase | 42% | Buyers may evaluate suppliers more carefully to protect margins |
For bicycle parts suppliers, the best response is not simply to offer the lowest possible price. A more sustainable response is to provide practical product tiers, consistent quality, realistic delivery information, and transparent product details.
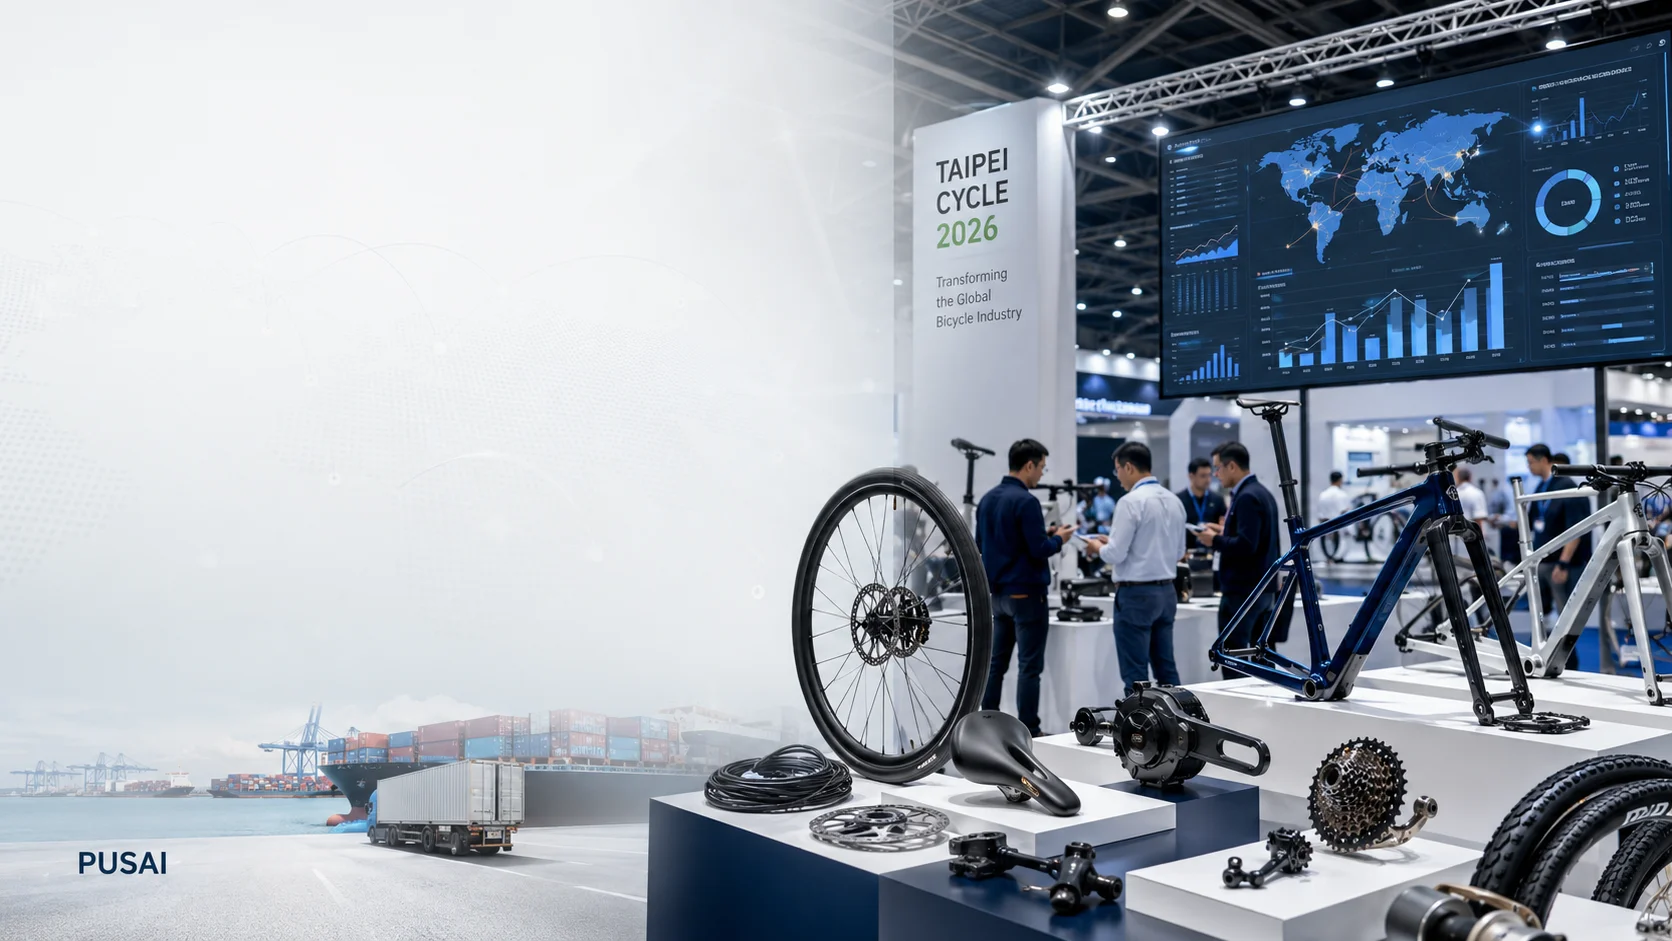
8. Trade Shows and Events Are Becoming More Selective
Another important part of the report is the changing role of trade fairs and industry events. Most respondents believe that the European bicycle event landscape is becoming more diverse or more fragmented.
This means suppliers should not assume that one trade show can solve all buyer development needs. Buyers and suppliers are spreading attention across different formats, regions, timings, and event types.
| Event Landscape View | Survey Result | Meaning for Suppliers |
|---|---|---|
| More Diverse Across Formats, Regions, and Timings | 60% | Suppliers need broader buyer communication channels |
| Increasingly Fragmented | 33% | It becomes harder to choose which events matter most |
| Concentrated Around Leading Events | 7% | Only a small share sees stronger concentration |
The report also shows that 62% of companies are reviewing event participation more critically, 43% are shifting budgets between different regions or event formats, and 39% find it more difficult to prioritize which events to attend.
For suppliers, this supports the importance of an independent website, search visibility, product pages, online catalogs, LinkedIn communication, and educational blog content. Trade shows remain important, but they are only one part of the buyer journey.
9. What This Means for Bicycle Parts Suppliers
The GBPI results show that the bicycle industry is becoming more stable, but buyers are still cautious. This creates a market where suppliers must reduce purchasing risk for their customers.
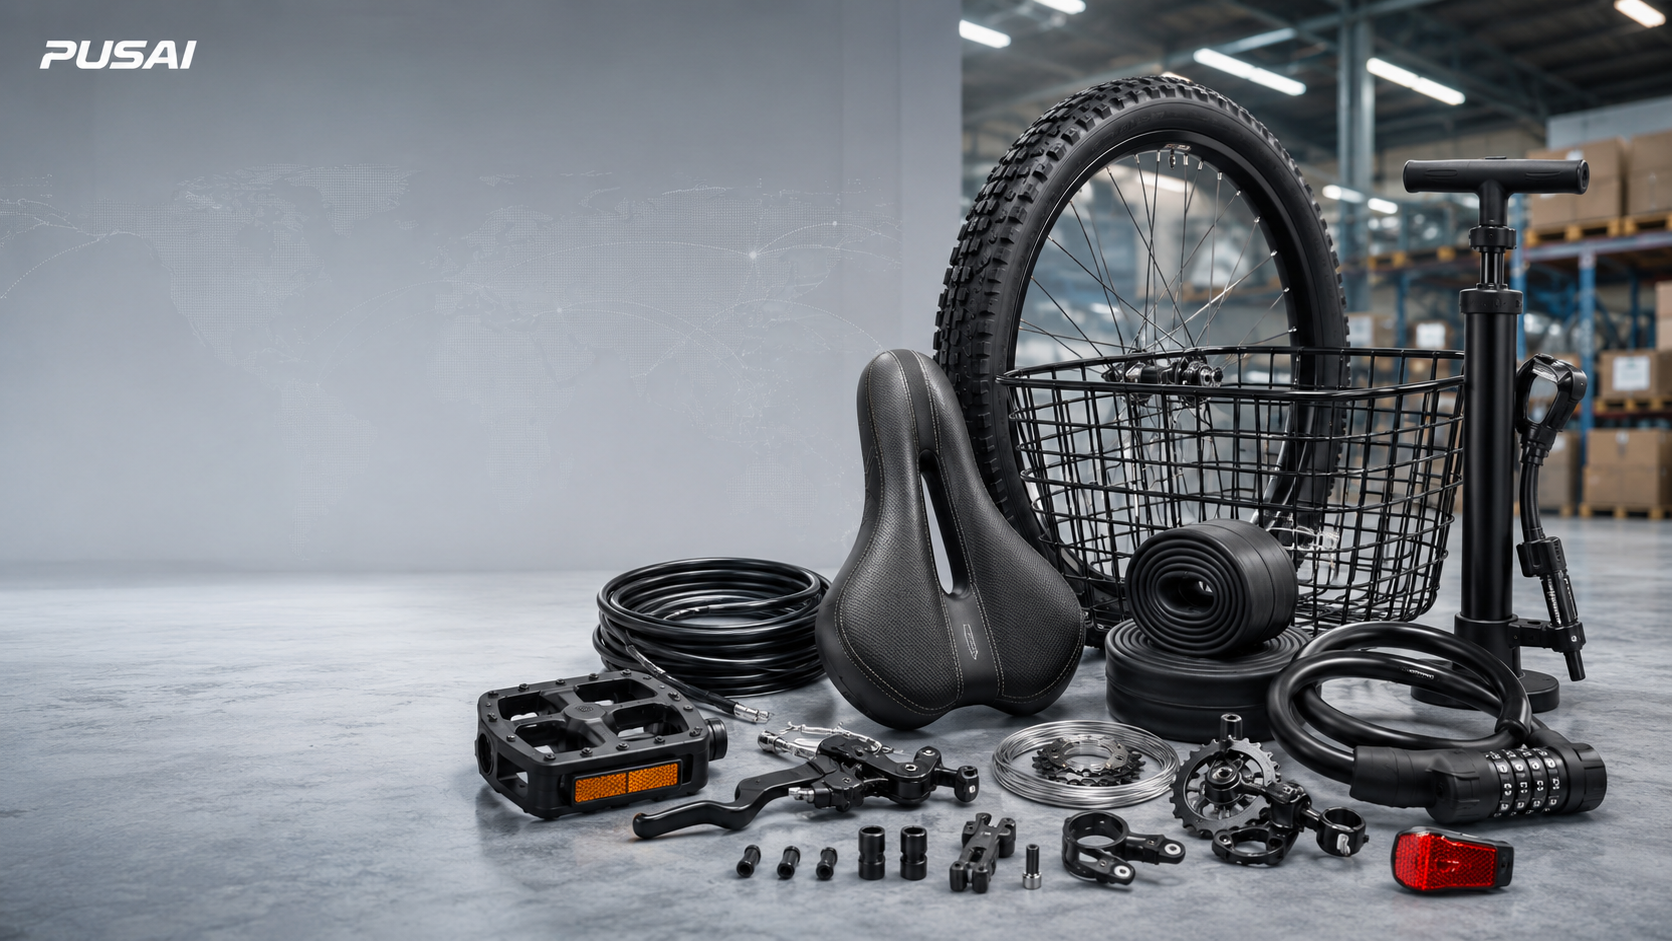
For bicycle parts suppliers, the most useful strategy is to focus on products that serve real and repeated demand. These include repair parts, replacement components, maintenance products, and daily-use accessories.
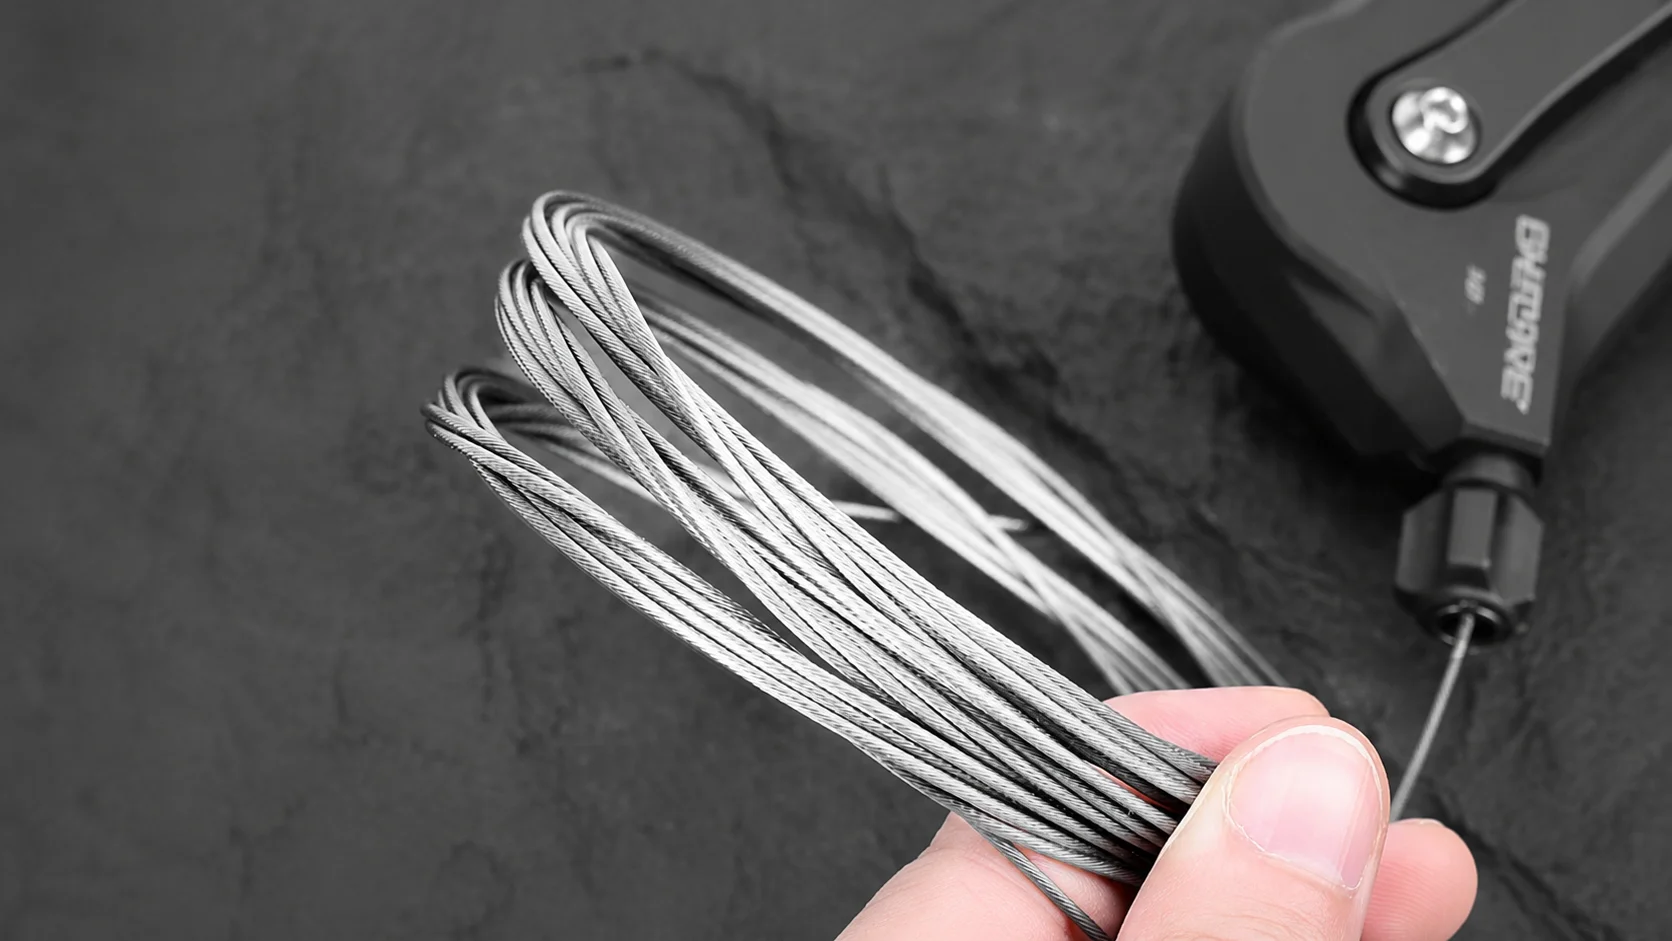
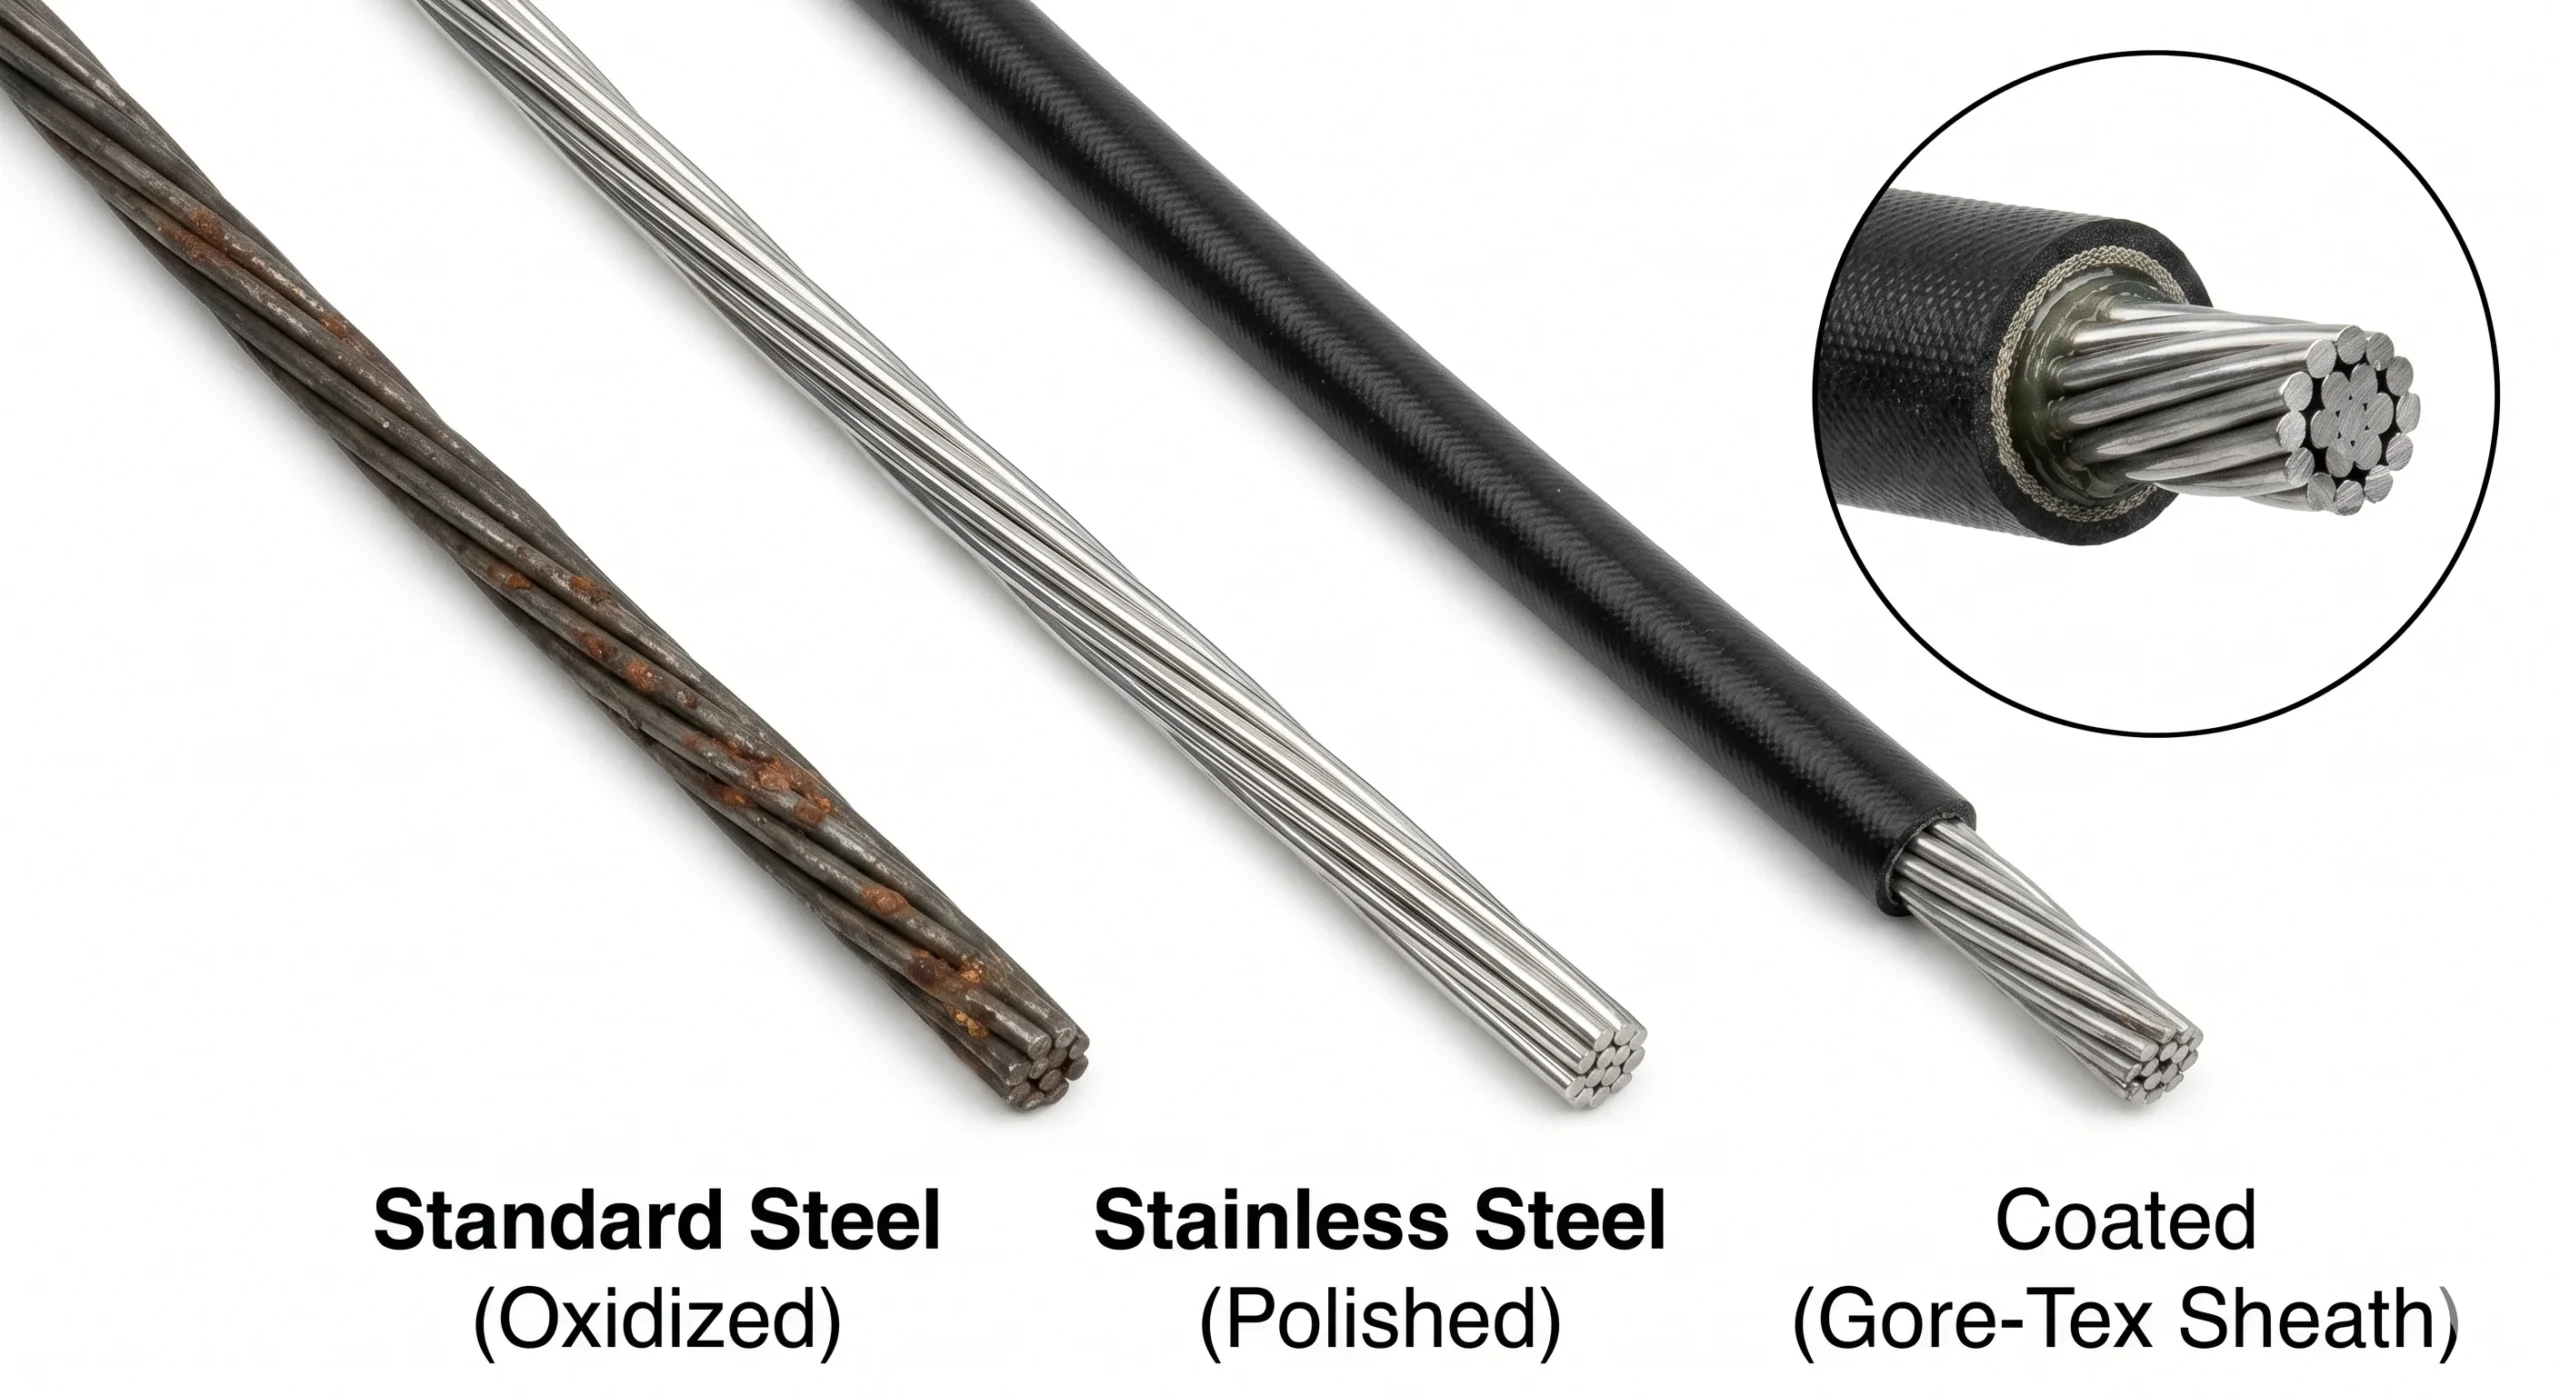
- Brake cables and shift cables for regular maintenance and repair
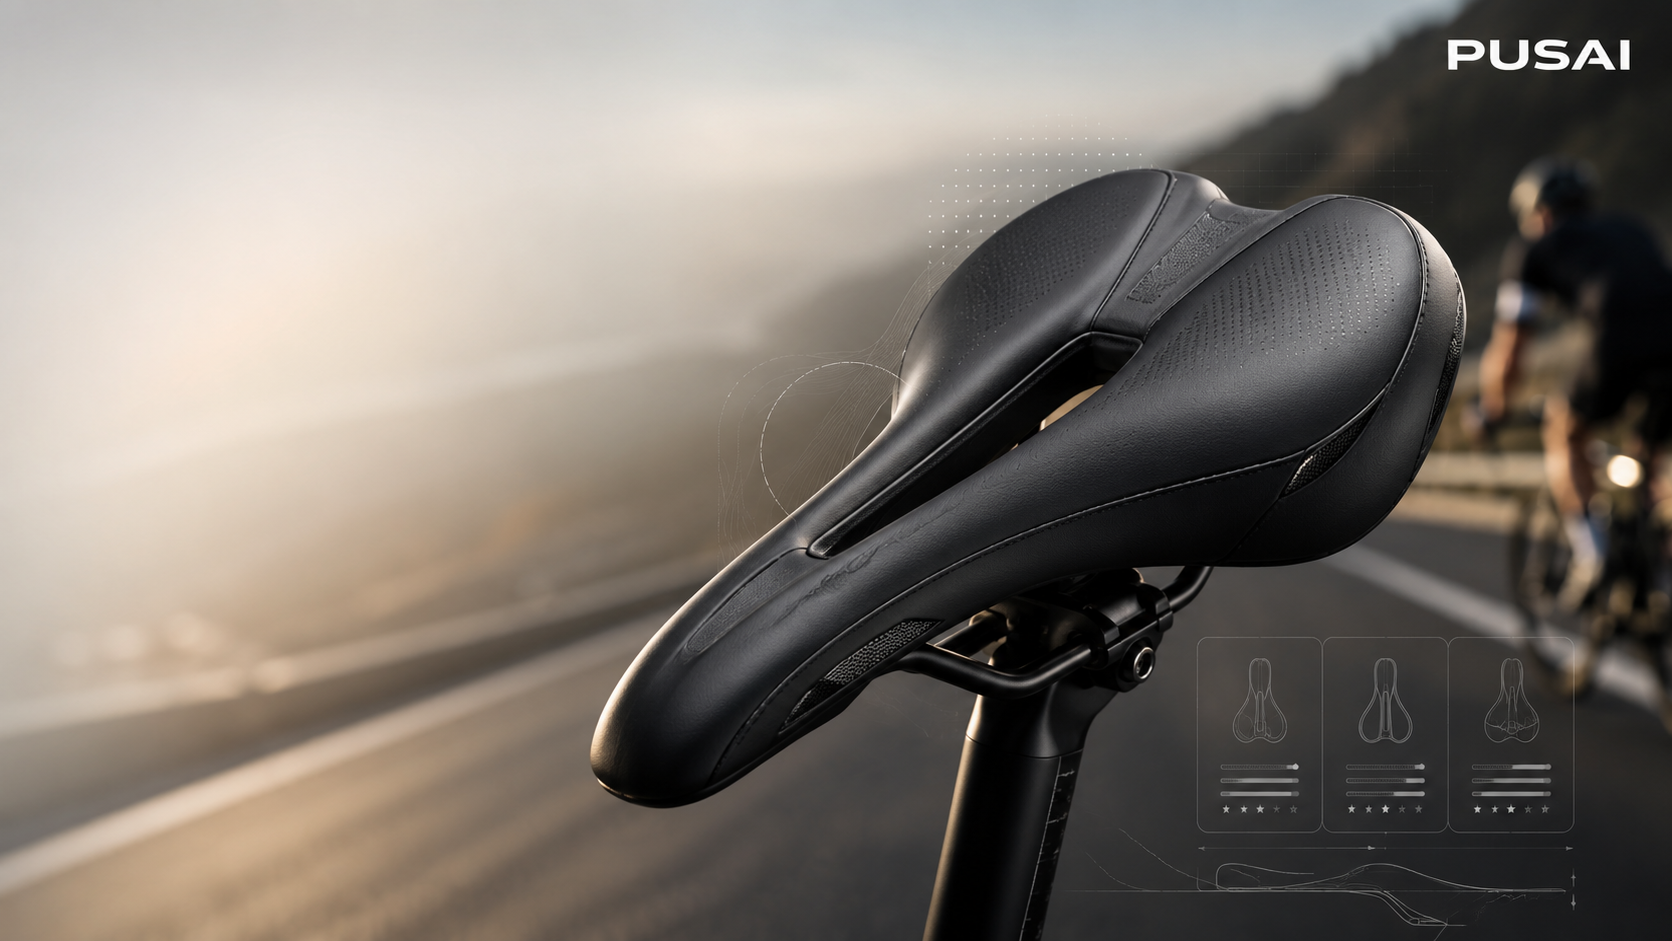
- Saddles for comfort upgrades and replacement demand
- Tyres and tubes as high-frequency wear parts
- Pedals, baskets, pumps, locks, and lights for daily-use cycling
- Brake parts and small accessories for repair shops and service channels
These products may not always receive the same media attention as complete bikes or new technologies, but they are important for distributors, retailers, repair shops, and online sellers.
10. How Suppliers Should Respond in 2026
In a fragile recovery phase, suppliers should prepare for buyers who are interested but careful. The focus should be on clarity, consistency, and practical support.
| Supplier Action | Why It Matters | Example for Bicycle Parts |
|---|---|---|
| Provide Clear Specifications | Buyers need fast and accurate product evaluation | Size, weight, material, color, packing, application, and compatibility details |
| Build Reorder-Friendly Categories | Cautious buyers prefer products with stable demand | Cables, saddles, tyres, tubes, pedals, pumps, locks, and lights |
| Support Different Channels | Distributors, repair shops, and online sellers need different formats | Bulk packing, retail packing, repair shop supply, and online product information |
| Reduce Supply Chain Uncertainty | Geopolitical and shipping risks affect buyer confidence | Clear communication about lead time, packing, production status, and delivery planning |
| Create Useful Buyer Content | Search engines and AI tools reward clear industry and product knowledge | Guides on saddles, cables, tyres, brake systems, and bicycle accessories |
Conclusion
The Global Bicycle Purchasing Index 2026 shows that the bicycle industry is moving toward cautious stability. New orders are improving, inventory pressure is easing, and some purchasing activity is returning. However, the overall market remains fragile, and strong growth signals are still limited.
Supply chain risk, purchasing price pressure, weaker predictability, and changing trade show strategies all show that buyers are operating more carefully than before.
For bicycle parts suppliers, the best opportunity is not to wait for a sudden market boom. It is to serve the practical needs of distributors, retailers, repair shops, importers, and everyday cyclists through stable, useful, and clearly documented bicycle parts.
In the next phase of the bicycle market, reliability, product clarity, reorder potential, and risk reduction may matter more than aggressive expansion.
Looking for stable bicycle parts for wholesale and aftermarket supply?
PUSAI provides bicycle accessories and replacement parts for B2B buyers, including saddles, brake cables, shift cables, tyres, tubes, pedals, baskets, pumps, locks, lights, and other commonly used bicycle components.
FAQ
What is the Global Bicycle Purchasing Index?
The Global Bicycle Purchasing Index is a sentiment and trend indicator for the bicycle industry. It tracks how companies view market conditions, orders, inventory, purchasing activity, and supply chain risks.
Does the 2026 GBPI show a full bicycle market recovery?
No. The latest result suggests cautious stability rather than a strong rebound. The market is improving in some areas, but overall sentiment remains subdued and fragile.
Why does inventory matter for bicycle parts suppliers?
When inventory pressure eases, distributors and retailers may gradually return to replenishment. This can support demand for replacement parts, accessories, and reorder-friendly product categories.
What bicycle parts may remain important in a cautious market?
Practical parts such as saddles, brake cables, shift cables, tyres, tubes, pedals, baskets, pumps, locks, lights, and brake parts may remain important because they support repair, replacement, retail, and daily cycling demand.
How should bicycle parts suppliers respond in 2026?
Suppliers should focus on stable product quality, clear specifications, practical product categories, reliable packing, transparent communication, and products that help buyers reduce purchasing risk.
Source reference: Global Bicycle Purchasing Index (GBPI), Wave 02/26 Key Results, June 2026, by EUROBIKE, Bike Europe, and IFH KÖLN.